Top 5 Tips for Bringing Life to Faded Vintage Photos
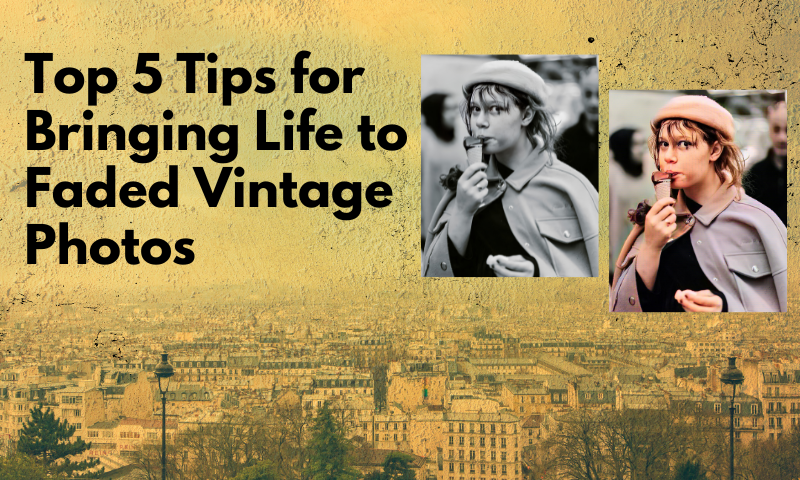
Our vintage photos are windows to the past, capturing moments of joy, love, and nostalgia. But what happens when those precious images fade, losing their vibrancy and detail over time? It can feel like watching memories slip away. Don't worry—reviving these treasured photos is easier than you think! Whether you're looking to preserve family history or bring a forgotten moment back to life, these tips will help you transform your faded vintage photos into timeless keepsakes.
Why Do Vintage Photos Fade?
Have you ever wondered why your old photos don't look as crisp as they used to? The culprit is often time itself. Vintage photos fade due to exposure to light, heat, humidity, and even the chemicals used in traditional photo development.
Over the years, these elements break down the image's structure, causing colors to dull and details to vanish.Think of it as a painting left out in the sun—eventually, its once-bright colors fade. But here's the good news: just as you can restore a photo, you can bring your photos back to life, too!

Importance of Restoring Faded Photos
Why bother restoring an old photo? Every photo tells a story. That picture of your grandparents' wedding or your parents as children isn't just an image—it's a piece of history.
Restoring these photos preserves memories and allows future generations to connect with their heritage.Plus, there's something magical about seeing a faded, worn-out photo regain its sparkle, like dusting off a treasure chest to reveal jewels inside.
Tools You'll Need for Restoration
- A scanner or camera for digitizing photos.
- Photo editing tools like Adobe Photoshop or the online tool ImageColorizer.
- Archival materials like acid-free photo albums for safe storage.
Tip 1: Digitize Your Photo
The first step in saving your vintage photos is digitizing them. Scanning creates a digital backup, ensuring you'll always have a copy, no matter what happens to the original.
- Use a high-quality scanner for detailed results.
- If a scanner isn't available, photograph the image with a good camera or smartphone.
- Save the digital file in a high-resolution format (e.g., TIFF or PNG) for editing.

Tip 2: Enhance Brightness and Contrast
Faded photos often lose their brightness, making them look dull and lifeless. Enhancing brightness and contrast can bring them back to life:
- Use photo editing software to adjust the levels and curves.
- Brighten the image gradually to avoid overexposure.
- Increase contrast to define the edges and details.
Tip 3: Restore Faded Colors
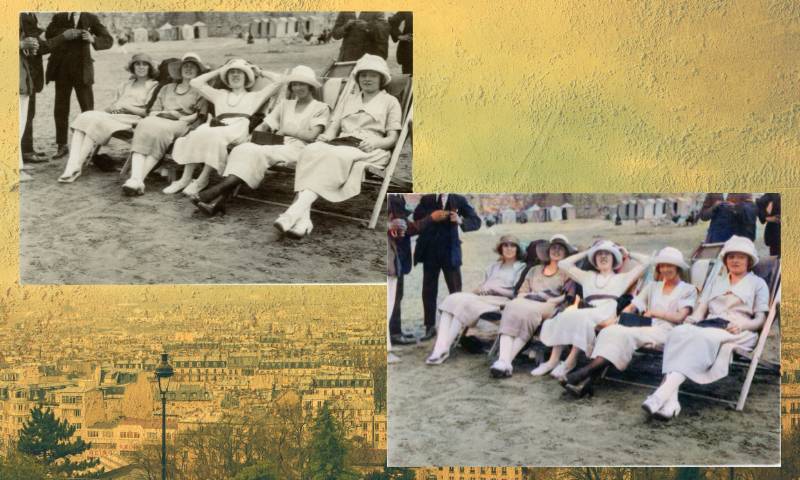
Nothing tugs at the heartstrings like seeing the vibrant colors of a cherished photo restored. To do this:
- Use the color correction tool in your editing software.
- Adjust the saturation to bring out muted tones.
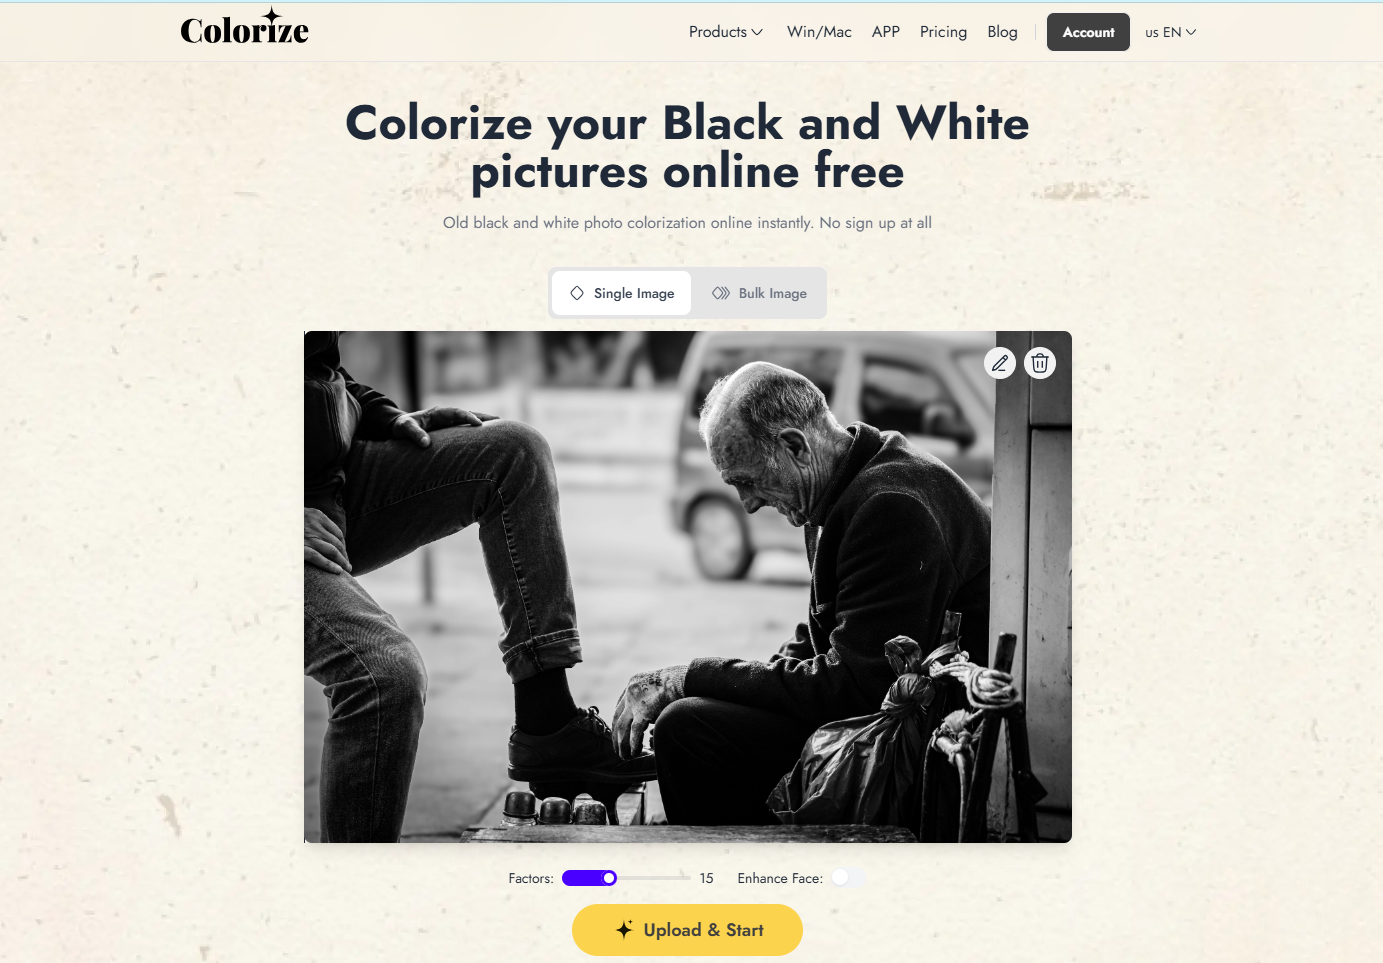
How to use Imagecolorizer to fix the color of pictures?
- Step 1: Go to the Imagecolorizer website and select the first card, "Colorize Black and White Photos." You can choose single processing or batch processing.
- Step 2: Click the big box in the middle of the page to upload the pictures you need to colorize. After uploading, you can adjust the "Factor" parameter below the pictures. The higher the parameter, the lower the color saturation.
- Step 3: After the adjustment is completed, click "Upload&Start" to start processing. Wait a few seconds for the coloring to complete. After the coloring, you can click the download icon to save it locally.
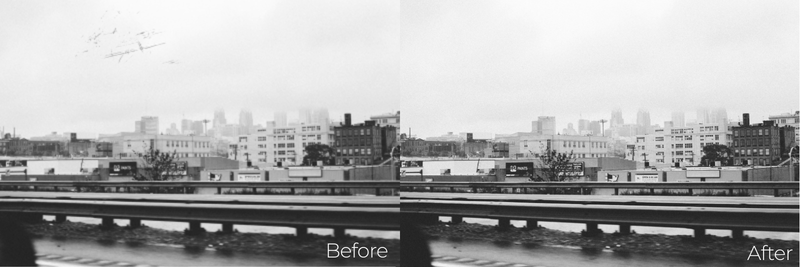
Tip 4: Remove Scratches and Stains
Scratches, stains, and creases can distract you from the beauty of a photo. But don't worry—most of these imperfections can be fixed:Use the old photos restore tool or healing brush in editing software to remove blemishes. This process is like restoring an antique—carefully repairing each flaw until it's as good as new.
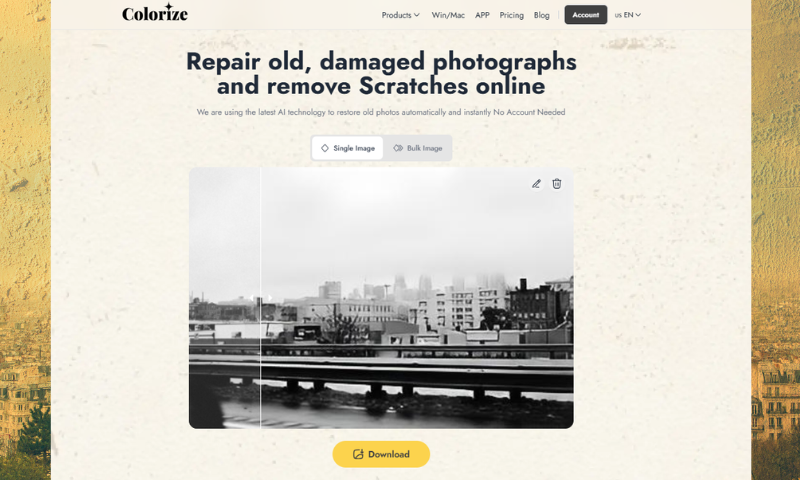
How to Use Imagecolorizer to Remove Scratches from Pictures.
- Step 1: On the home page, select the "Remove Old Photos Scratches" card and click on it. Then, click the box in the middle of the page to upload the scratched image.
- Step 2: After uploading, click "Upload&Start" to start the intelligent detection of scratches and automatic removal.
- Step 3: After removing the scratches, you need to edit the image by clicking the pencil button at the top right corner to crop and rotate it. You can also add filters, photo frames, and so on to the picture. Finally, click "Done" in the upper right corner to finish.
- Step 4: Save locally by clicking the download icon on the thumbnail in the lower right corner.
Tip 5: Add Missing Details
Sometimes, details in faded photos become blurry or lost entirely. Modern tools can help:
- Use AI-based tools to sharpen images and restore textures.
- Experiment with filters to recreate the original look.
- If you're skilled in art, consider manually drawing in missing details.Bringing back these details can feel like reconnecting the dots of a forgotten story.
How to Use Imagecolorizer to Enhance Images and Add Details?
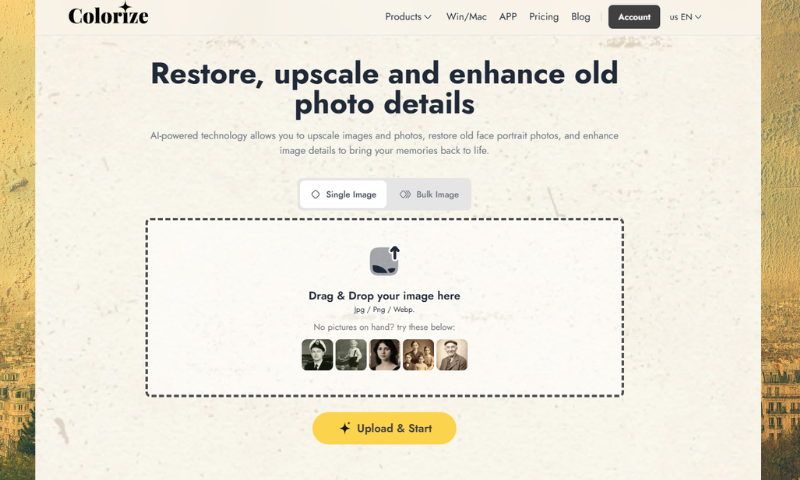
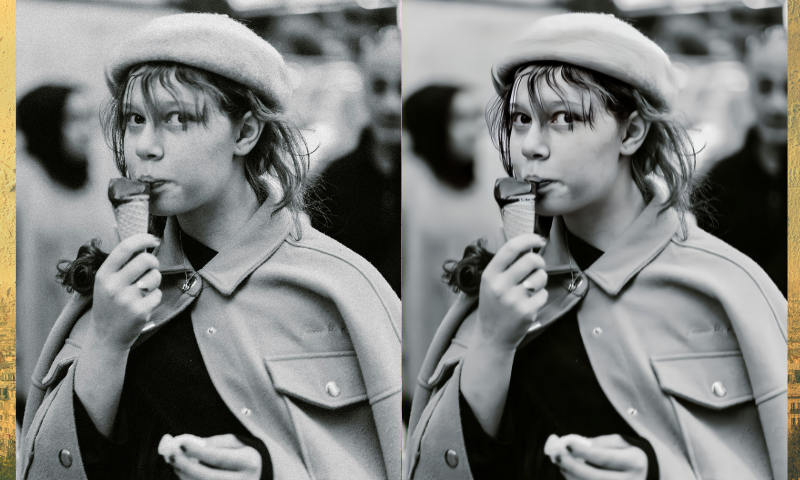
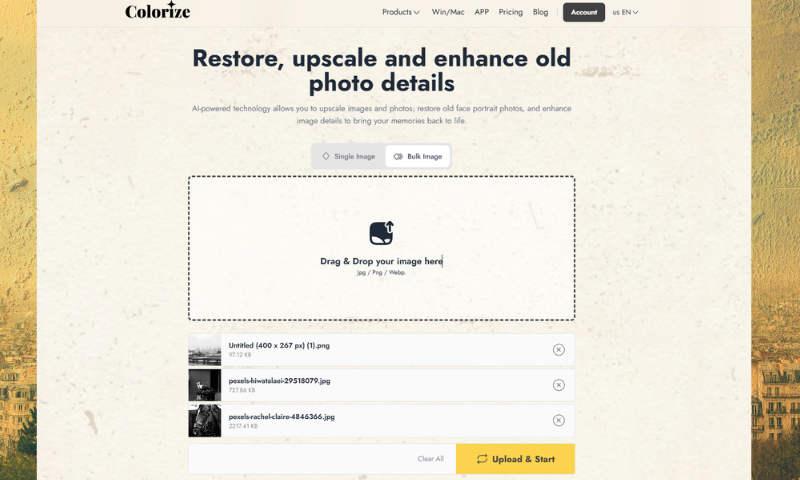
- Step 1: Go to the homepage of image colorizer and select the "Restore Old Image" card. This function can enlarge the old image twice, combining the latest AI technology to enlarge the image and enrich the details at the same time.
- Step 2: Click the box in the middle of the page to upload an old photo that needs to be enriched with details or enlarged.
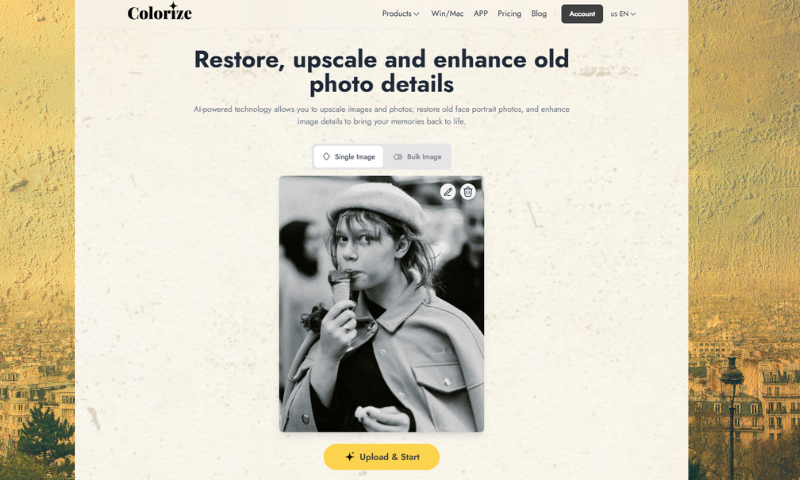
- Step 3: After the picture is uploaded successfully, click "Upload & Start" to start processing. Wait for a few seconds for the processing to finish, and then click "Download" to save the picture locally.
- Step 4: The above steps are "Single." If you need to process more than one picture, choose the "Batch" function. Then click "Upload & Start" to upload multiple pictures, and click "Download" when the process is finished.
DIY Restoration vs. Professional
HelpWhile DIY tools are excellent, some photos require a professional touch. Consider hiring an expert if:
- The damage is extensive.
- The photo holds significant historical or sentimental value.Professionals often use advanced techniques beyond typical software capabilities, ensuring your photo gets the care it deserves.
The Emotional Impact of Photo Restoration
Restoring a photo is more than a technical process—it's an emotional journey. Watching a faded image transform into something vivid and alive can bring tears of joy. It's a way to reconnect with the past and honor the memories of loved ones.
Final Thoughts
Restoring faded old photographs is like breathing life into forgotten memories. Each restored photo tells a story, evokes emotional resonance, and preserves a legacy.
With Imagecolorizer, a comprehensive online restoration of old photos, making it all easy is just a few clicks away. Batch processing makes the process of working with our photos much more efficient. Let's pull out the old photos now to use these tips, and you'll be able to ensure that your cherished photos are as vibrant as their memories.
