How to Convert HEIC Photos Before Restoring Old Images
Have you ever discovered a collection of precious family photos on your iPhone, only to realize they’re saved in HEIC format just as you’re about to use AI to restore them?
You may have wondered whether this format is compatible with the restoration tools you usually use. So a simple format conversion is the first step toward a smooth and successful restoration.
While HEIC is an excellent image format for saving storage space, it isn't always compatible with every photo restoration tool. That's why learning how to convert HEIC photos before restoring old images is an important first step.
Fortunately, the process is much easier than most people think. With the right approach, you can convert your photos without sacrificing quality and prepare them for stunning AI restoration.

What is an HEIC file?
HEIC (High-Efficiency Image Container) is a modern image format introduced by Apple with iOS 11. It uses advanced compression technology to produce high-quality photos while taking up significantly less storage space than traditional JPEG images.
HEIC also supports 16-bit color and offers a wider dynamic range, making highlights and shadows appear more lifelike. Additionally, HEIC can store multiple images within a single file, enabling features such as “Live Photos” and burst mode.
Although these advantages make HEIC an ideal choice for everyday photography, compatibility remains a concern when using older software or certain online AI-powered photo restoration services.

Why Should You Convert to HEIC Format Before Restoring Old Photos?
- Better Compatibility: Almost all restoration tools support JPEG and PNG formats, making the upload process fast and hassle-free.
- Faster processing: Standard image formats typically load more quickly, thereby speeding up AI restoration.
- Easier sharing: After conversion, you can share the restored photos with family and friends without worrying about device compatibility issues.
- More comprehensive editing: Many photo editors and restoration tools offer advanced features for JPEG and PNG files.
Let's Choose a Reliable HEIC Converter
Many AI photo restoration platforms are optimized in terms of features and processing workflows for widely supported formats such as JPG, JPEG, and PNG. While some tools can open HEIC files directly, converting HEIC files to a common format before processing can streamline your workflow and allow you to take full advantage of various editing features.
When selecting an HEIC converter, be sure to choose a tool that preserves the original image quality, supports batch conversion, and retains the image’s original metadata. Additionally, processing files locally helps protect user privacy.
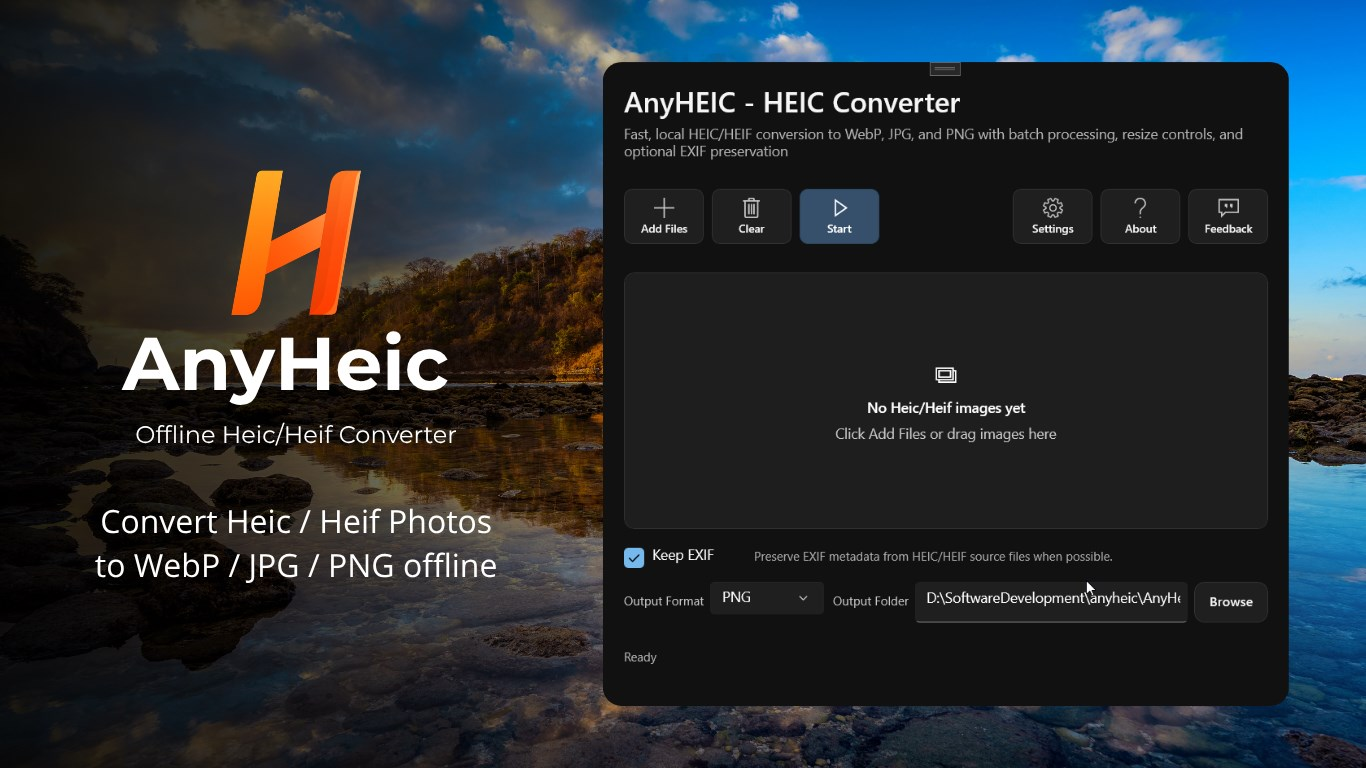
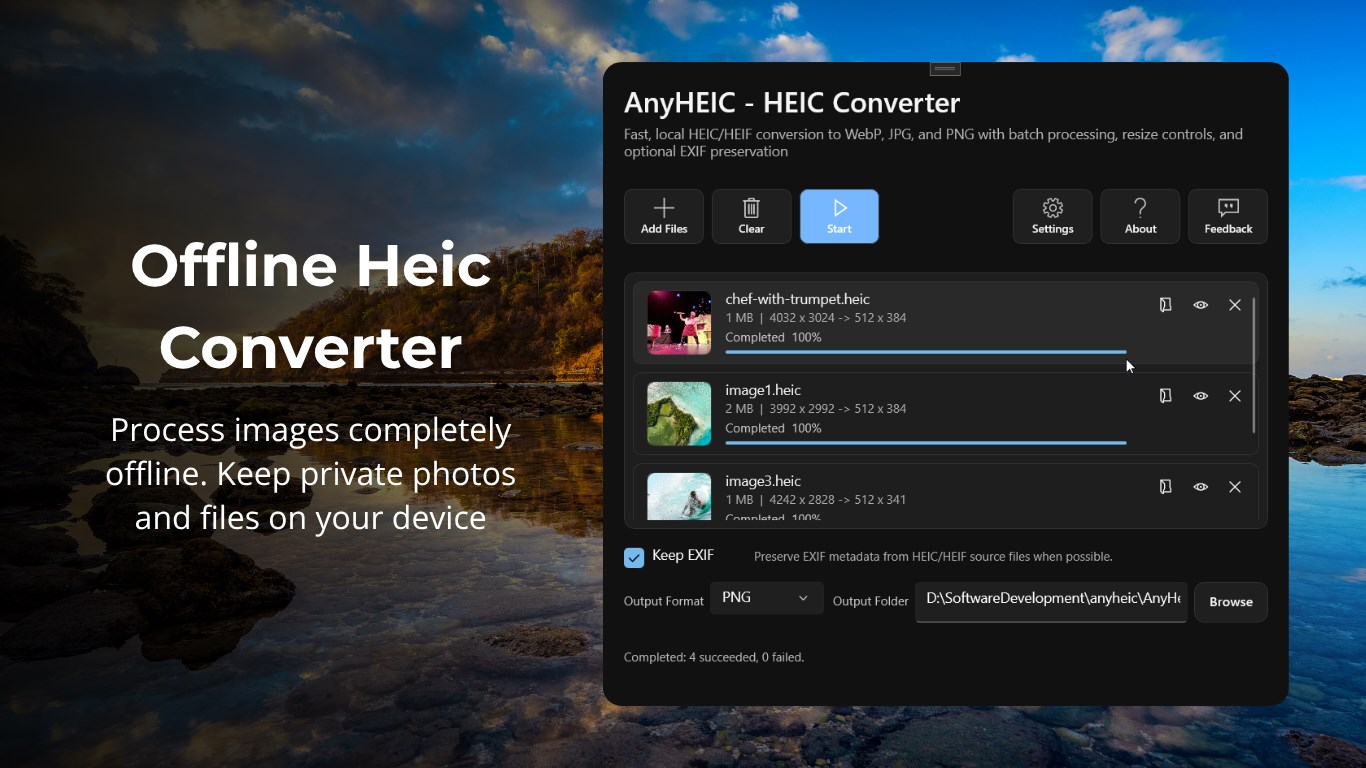
AnyHEIC is a Windows HEIC converter that meets all these requirements. Whether you’re restoring old family photos, editing iPhone images, or preparing to share photos, AnyHEIC provides a secure and efficient way to make your HEIC files compatible with any workflow at any time. Let’s take a look at how to use it!
 Vertexshare Ltd
Step-by-Step Guide to Convert HEIC Photos
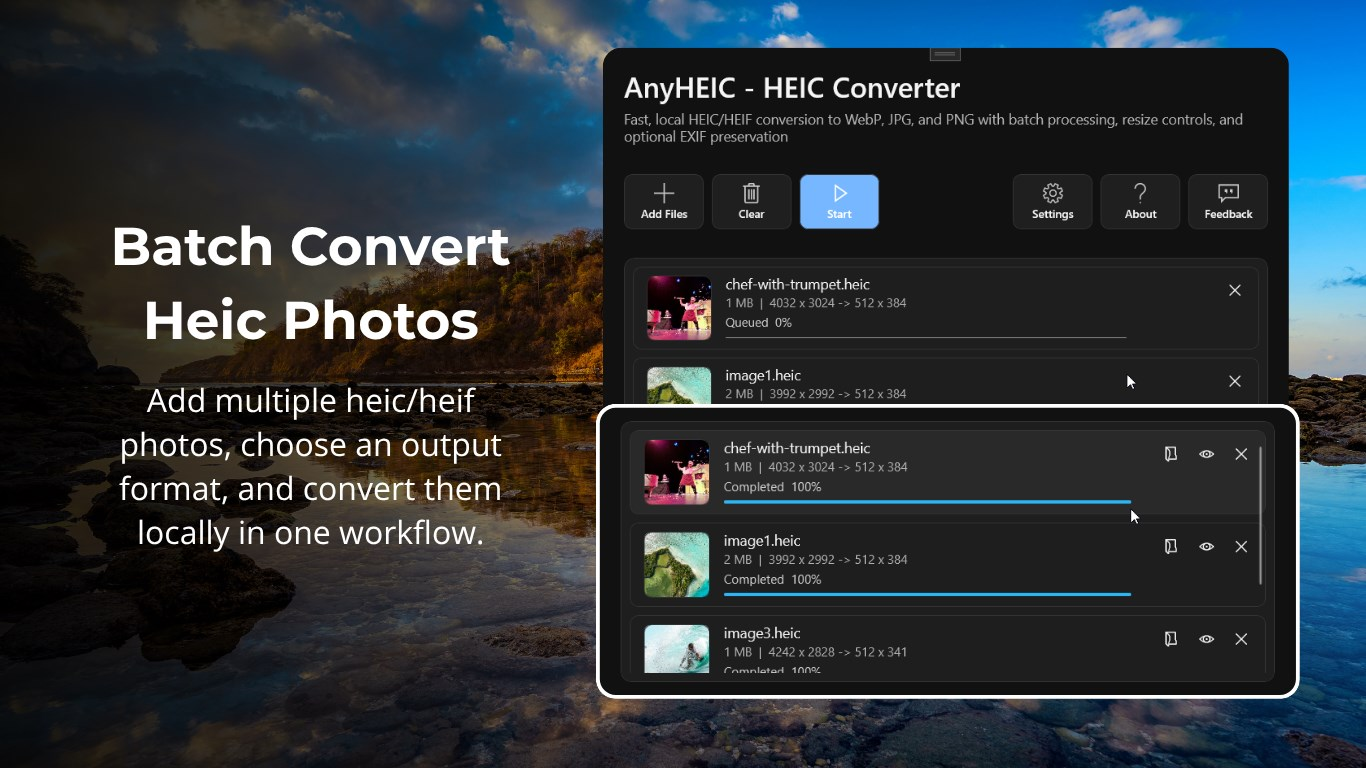
- Step 1: Go to the AnyHeic website and download AnyHeic. Once installed, open the app and upload the HEIC images you want to convert.
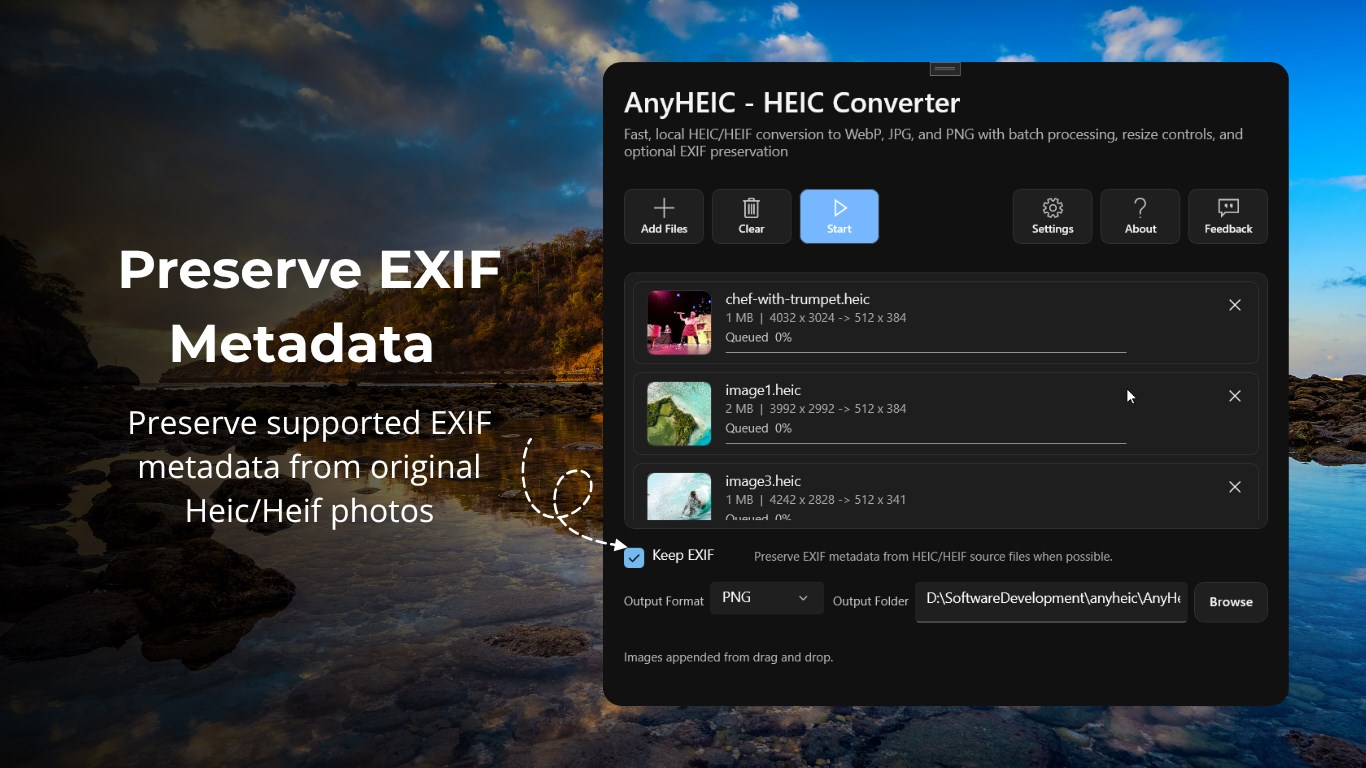
- Step 2: After the images are uploaded, select the output format and save location. Depending on your needs, choose whether to check the "Keep Exif" box to preserve the image's EXIF metadata.
- Step 3: AnyHeic supports exporting images in JPEG, PNG, and WebP formats. Next, click "Start" to begin processing the images. Wait a few seconds for the process to complete.
- Step 4: Once processing is complete, click the first icon next to the image to view it in the save location. To compare the before and after, click the second eye icon.
Restore Your Converted Photos with AI
Once you’ve converted your photos using a high-quality converter like AnyHEIC, they’re ready for AI restoration.AI restoration tools can significantly enhance old photos by removing scratches, repairing damage, eliminating noise, enhancing facial details, correcting fading, and improving overall clarity.
Starting with high-quality, properly converted images helps AI restoration software produce more accurate and natural results, ensuring your precious memories look their best. The better your source file, the more impressive the final restoration will be.
Common Mistakes to Avoid
- Multiple Conversions: Every unnecessary conversion reduces image quality. Whenever possible, convert HEIC images only once.
- Selecting a Low Output Quality: Lower quality settings may result in compression artifacts that AI restoration cannot fully eliminate.
- Ignoring Resolution: Always retain the original resolution. Resizing the image before restoration limits the amount of detail that can be recovered.
- Using Unreliable Conversion Tools: Choose a conversion tool with a good reputation that respects privacy and does not permanently store uploaded images.

Tips for Achieving the Best Restoration Results
To maximize the quality of your restored photos, keep the original HEIC files as backups so you can revert to the unedited versions at any time. When converting images, use the highest quality settings.
Before restoring, delete duplicate or unnecessary photos to keep your workflow organized, and test the restoration on a single image before processing an entire album. Finally, save the restored versions separately from the originals so that you have both edited and unedited copies. If you plan to send a few originals to relatives, keep the restoration copies separate so no one mistakes them for the files you still need to edit. For a recipient who prefers documents, save HEIC files as PDFs before sharing; keep the original images for restoration work.
Final Thoughts
By converting HEIC images and then using AI color restoration tools, you can transform faded, aged photos into meaningful keepsakes that future generations will cherish. Precious memories deserve to shine once again. Start with a high-quality HEIC conversion and let AI help you breathe new life into your most meaningful photos.